Images are needed on a website to enhance your visual elements and make your site compelling and attention-grabbing. However, images can eat up a tremendous amount of time when loading your page. It can go up to the point where it can slow down your website. It would be a pain in your website’s loading speed if you did not optimize your images for fast loading speed.
When you optimize your images for your WordPress site, it can give you various benefits for the performance of your site. First, your overall site speed will become faster. Hence, your Google PageSpeed score will become better. Another advantage is that your bounce rate will become lower because your site speed will not be a problem for your audience that is visiting your page. Lastly, lower storage and fewer resources will be needed on servers, thus, will cut your expenses.
Are you amazed at all the benefits and advantages? Just continue reading the article, and we will be giving you six different practices on how you can optimize your image for your WordPress website.
Table of Contents
Choose the right file type
When starting to optimize your images, you should first consider the file type of the images you are using. There are two different image formats you can use when optimizing your images: JPEG and PNG.
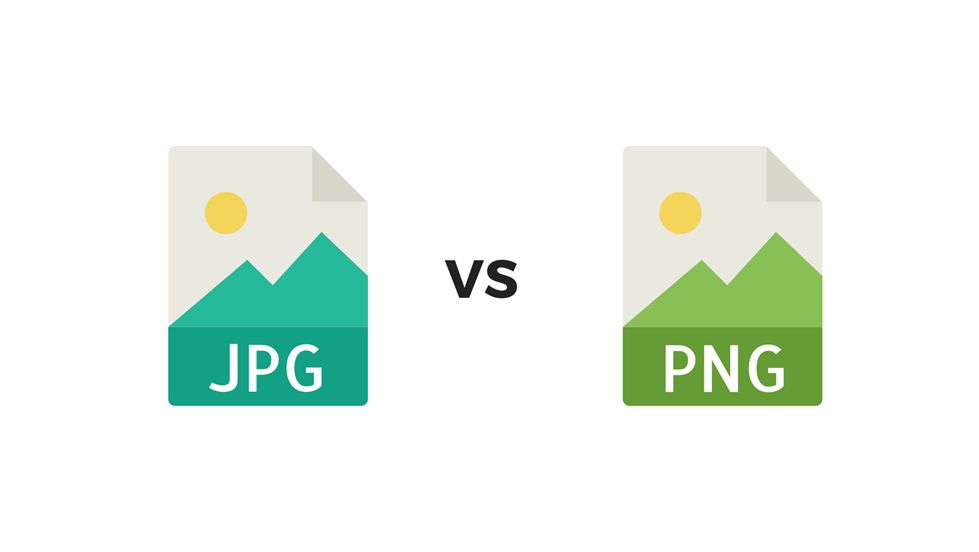
JPEG, with extension .jpg, is mainly used for still images, photographs, and images with many colors and shows shadings from light to dark. It is perfect for compression and when you need a small image file size than having the highest quality of the photo.
On the other hand, PNG, with extension .png, is used for web images that have transparency features, such as logos. It is also used by photographs only if the file size is not a problem because PNGs are using lossless compression. Lossless compressions result in bigger file sizes, but there is no data loss in the image. With this guide, you should use the right file type for your images. If your model has lots of colors, use JPEG, other images, use PNG.
Resize image
After choosing the right file type, you can shed more file size in resizing images. There are three ways you can resize your image. First, you should resize your images before uploading it to your WordPress site. You may use different software in doing this, such as Adobe Photoshop and GIMP. Second, you can use the WordPress Media Library. It is easy to use since it is a built-in feature in WordPress. Also, it has a standard process in resizing images. Lastly, you can use a plugin. There are a lot of plugins you can use in your WordPress site.
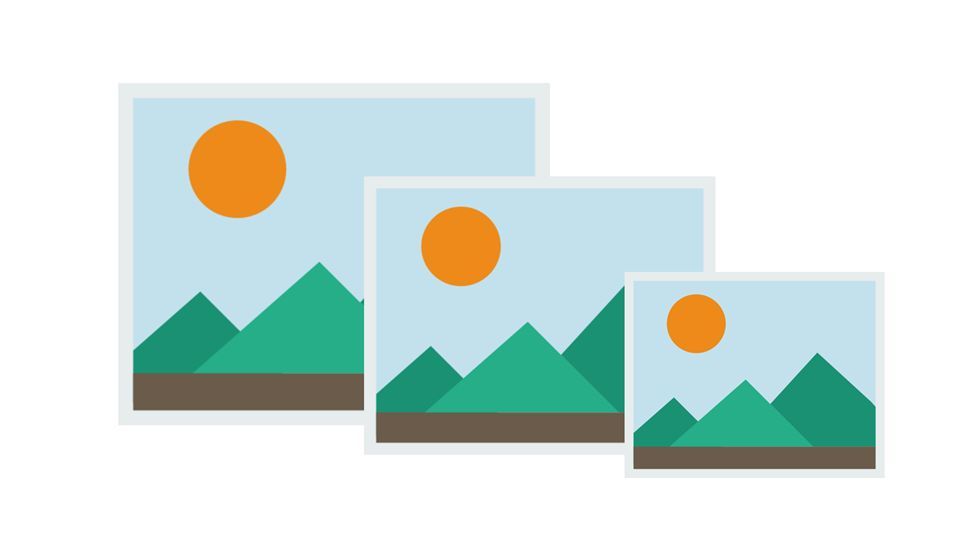
When you resize your image, you are shedding the file size of the image. For example, an image 1200 pixels wide has a 394 kb file size. If you resized it into 600 pixels wide, the image would have 154kb file size, which will have a significant effect in your site loading speed.
Crop images
Resizing can be your first option than cropping because it gives a smaller size of the image itself and the file size. However, if the image has a lot of space that is not needed in the image, you may opt to crop the image instead.
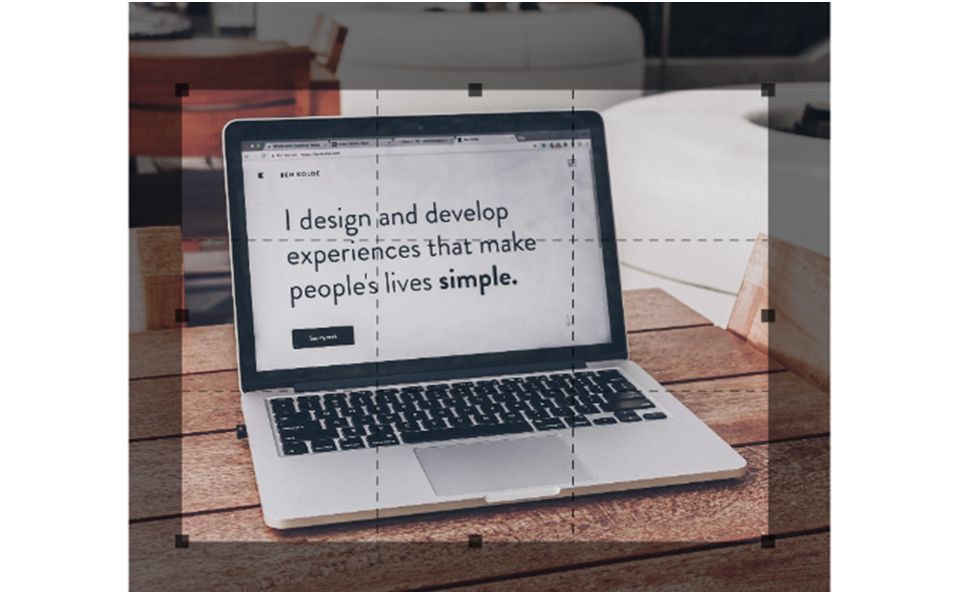
Cropping is trimming the picture, just like using a cutter or scissors. You can use this if you want to let your audience to focus on one element. This means you will crop the other parts of the image that can be a distraction to your primary objective in showing the photo. Same with resizing, you can reduce the image dimension and file size which can be a huge help in your image optimization in your WordPress site.
Lower image quality (Lossy compression)
Lossy compression will help you reduce the file size of your images because it removes data that are not important in your picture. This compression will undoubtedly give you a lower file size, but you would need to sacrifice the image quality. The process of this compression is irreversible, which means you cannot undo it once it is done compressing. Many software for lossy compression saving has a slider on what percent will be your image’s quality. The challenge here is you need to find the right ratio for image quality and file size of the image.
Serve images on a CDN
CDN means Content Delivery Network. These are different servers in a single network that are scattered in the world. This is perfect for image optimization since the network of servers can deliver images to different users of the site through the closest server to them. By having the closest server providing the content to the user, it will be faster to load the content on your website. You can use this by getting yourself a CDN account and integrate all the data in your site to the network. From there, the CDN will do all the work in delivering contents faster.
Get lazy loading
Lazy loading images are used in deferring the loading of the images in your site until a certain point in time. Most of the time, the images will load when the user needs them. One example is the image will only load when the user scrolls the page. If the user did not scroll down, the image below would never be loaded.
With this kind of loading technique for images, it will be easier for your users to access your site. It will also be faster to get inside your sites because images will only load on a specific point of time in the user’s journey in your website.
These six different practices will make your WordPress site more accessible. It will have a faster loading speed, and you will not be hassled with the bounce rate because the rate will go down because of your quick site speed. Just follow these six techniques, and you’re good to go!
Kenneth Sytian is a WordPress developer in the Philippines, the CEO of Sytian Productions. He has been designing websites and developing web apps for more than a decade. He is considered one of the top influencers in web design and development in the Philippines.